Step 1 (for v3.3.0)
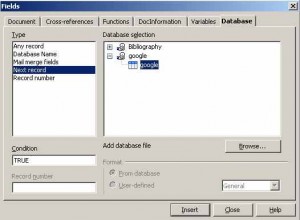
- Insert -> Fields ->Other (CRTL-F2)
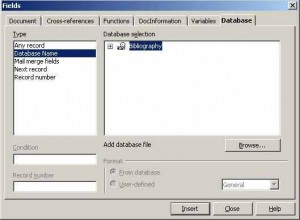
- Select Database Name → Browse
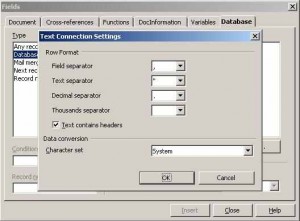
- Select your CSV etc by navigating to it / import choices / Open
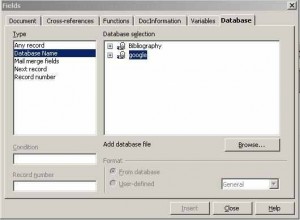
- Close this section
Step 2
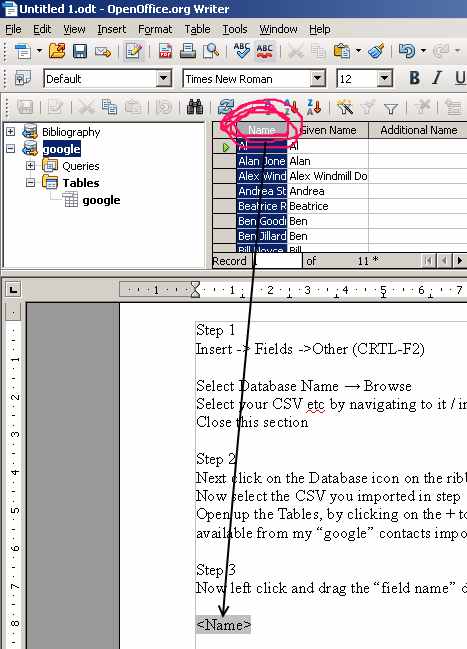
- Next click on the Database icon on the ribbon bar or press F4

- Now selectthe CSV you imported in step 1 and press the + button on the left

- Open up the Tables, by clicking on the + to the left, which in my example expands the fields available from my “google” contacts import


Step 3
Step 4
- Go to Tools -> Mail Merge Wizard
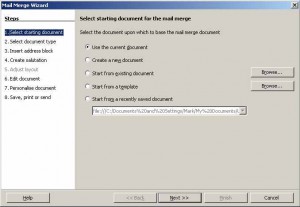
- Go Next until you get to the last screen, here select
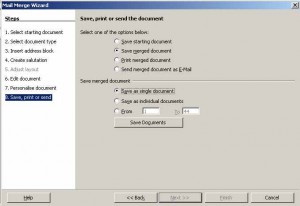
- Save merged documents, and the bottom part will expand, I typically select, Save as single document
Getting several records on the same page
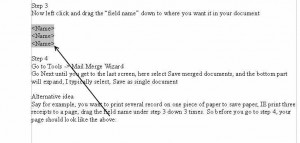
Say for example, you want to print several record on one piece of paper to save paper, IE print three receipts to a page, drag the field name under step 3 down 3 times. So before you go to step 4, your page should look like this.
Now add the “Next Record” at the end of each line, by going to step 1 (CTRL-F2)
- In my example remember to add in the Next record at the end of each line
- Back to step 4 to complete multiple record setups



This totally helped me out tonight! Great directions, thanks!